Hyundai Ioniq: Tailgate / Tailgate Assembly. Repair procedures
Hyundai Ioniq (AE) 2017-2025 Service Manual / Body (Interior and Exterior) / Tailgate / Tailgate Assembly. Repair procedures
| Replacement |
|

|

| 1. | Remove the tailgate trim. (Refer to Tailgate - "Tailgate Trim") |
| 2. | Using a screwdriver, lift the socket clips (A) up slightly on both ends of the tailgate lifter (B).
|

| 3. | Disconnect the connectors and tailgate wiring harness (A). |
| 4. | After loosening the mounting bolts, then remove the tailgate assembly (B).
|

| 5. | To install, reverse the removal procedure.
|


Other information:
Hyundai Ioniq (AE) 2017-2025 Owner's Manual: Regenerative Brake, Anti-lock Brake System (ABS) Warning Lights
Regenerative Brake Warning Light This warning light illuminates : When you place the Engine Start/ Stop button to the ON position. - It illuminates for approximately 3 seconds. When the regenerative brake does not operate and the brake does not perform well...
Hyundai Ioniq (AE) 2017-2025 Service Manual: Rheostat. Repair procedures
Inspection1.Disconnect the negative (-) battery terminal.2.Remove the crash pad lower panel.(Refer to Body - "Crash Pad Lower Panel")3.Disconnect the rheostat switch connector (A).4.Check for intensity of new rheostat switch. If the light intensity of the lamps changes smoothly without any flickering when the rheostat is turned, it can be assumed that the rheostat is normal...
Categories
- Manuals Home
- 1st Generation Ioniq Owners Manual
- 1st Generation Ioniq Service Manual
- Immobilizer System
- Checking the Coolant Level
- Temperature control
- New on site
- Most important about car
Seatback pocket
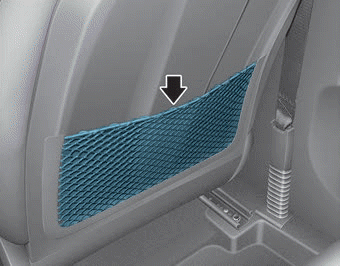
The seatback pocket is provided on the back of the front passenger's seatback.
WARNING
To prevent the Occupant Classification System from malfunctioning:

Copyright © 2025 www.hioniqae.com