Hyundai Ioniq (AE): Windshield Wiper/Washer / Rain Sensor. Repair procedures
| Removal |
|

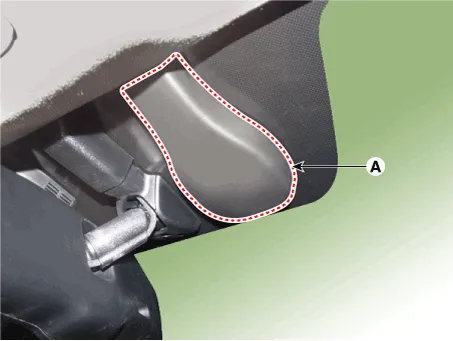
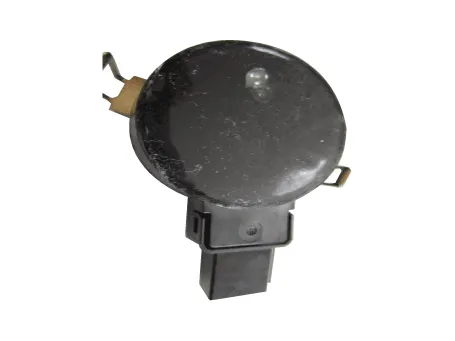
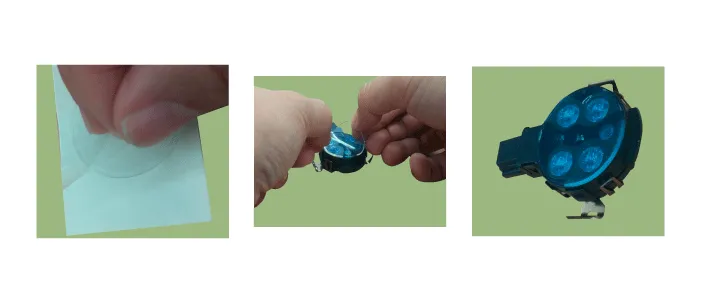
| 1. | Reomve the rain sensor cover (A).
|
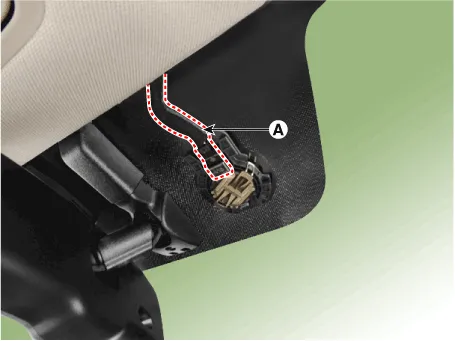
| 2. | Disconnect the wiring harness connector (A).
|
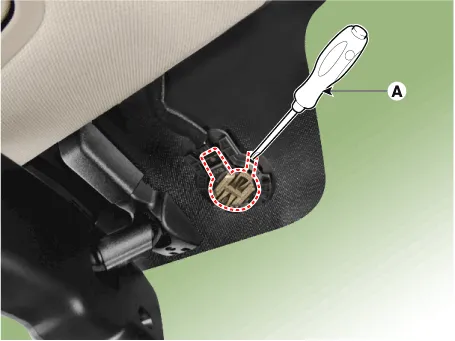
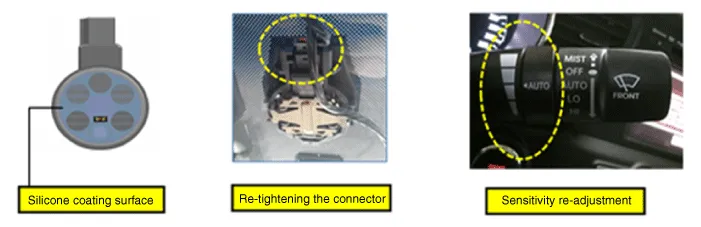
| 3. | Be careful not to damage the cover latch by applying excessive force. To remove the latch, pull aside the latch using the cover hole with a small flat - blade screwdriver (A).
|
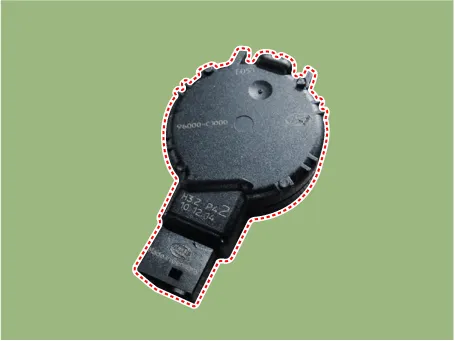
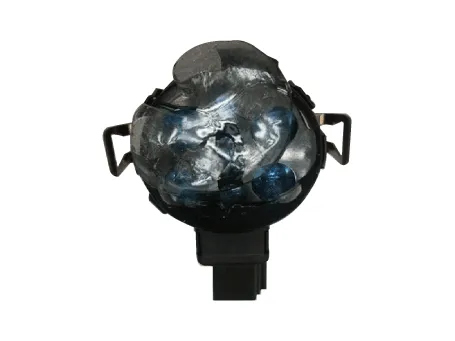
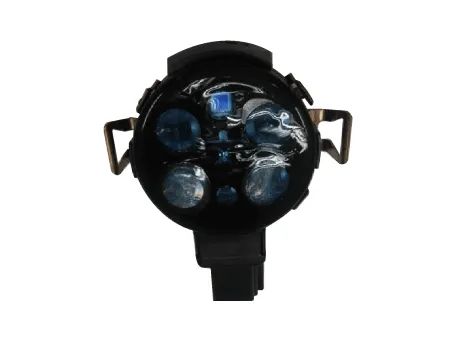
| 4. | Rain sensor module is attached to the front windshield by glue replacing the front windshield, remove the rain sensor module from the existing front windshield and install on the new front windshield. |
| Installation |
| |||||||||||||||||||||||||||||||||||||||||||||||||||||||


| 1. | Connect the rain sensor connector. |
| 2. | Push one of the latch of spring arm (A) down until it snaps and you hear a click sound. And then push the latch of second spring arm (B) for keeping the sensor in right position.
|

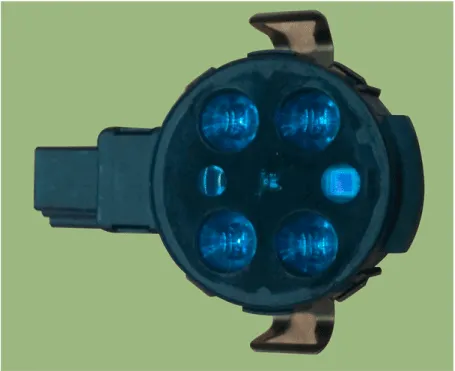
DescriptionIntegrated Rain SensorIntegrated rain sensor (A) controls three systems: front wiper, auto-light, and central air conditioner.1.Wiper Control SystemWhen "AUTO" switch signal is received from the multi-function switch on the right, the integrated rain sensor detects the amount of rainfall.
Other information:
Hyundai Ioniq (AE) 2017-2022 Service & Repair Manual: High voltage shut-off procedures
High Voltage Shut-off Procedures • Be sure to read and follow the "General Safety Information and Caution" before doing any work related with the high voltage system. Failure to follow the safety instructions may result in serious electrical injuries.
Hyundai Ioniq (AE) 2017-2022 Service & Repair Manual: Repair procedures
Diagnosis with GDS1.REAR CORENER RADAR system defects can be quickly diagnosed with the GDS. GDS operates actuator quickly to monitor, input/output value and self diagnosis.2.Connect the cable of GDS to the data link connector in driver side crash pad lower panel, turn the power on GDS.
Categories
- Manuals Home
- Hyundai Ioniq Owners Manual
- Hyundai Ioniq Service Manual
- Jump starting procedure
- Repair procedures
- General Information
- New on site
- Most important about car
