
Hyundai Ioniq (AE): Wireless Power Charger System / Wireless Charging Lamp. Repair procedures
Hyundai Ioniq (AE) 2017-2022 Service & Repair Manual / Body Electrical System / Wireless Power Charger System / Wireless Charging Lamp. Repair procedures
| Removal |
Handling wireless charging system parts by wet hands may cause electric shock. |

| 1. | Disconnect the negative (-) battery terminal. |
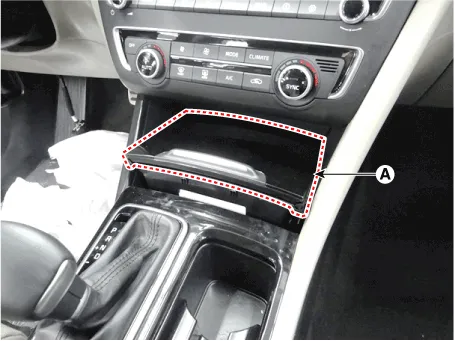
| 2. | Remove the floor console tray (A). (Refer to Body - "Floor Console Assembly")
|
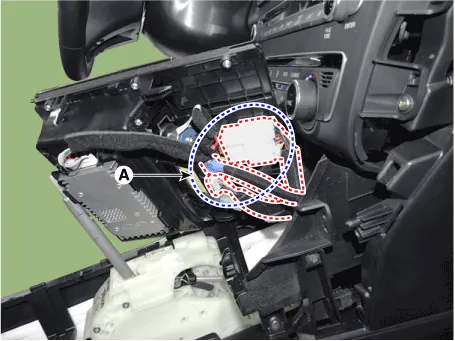
| 3. | Disconnect the connectors (A) from the floor console tray.
|
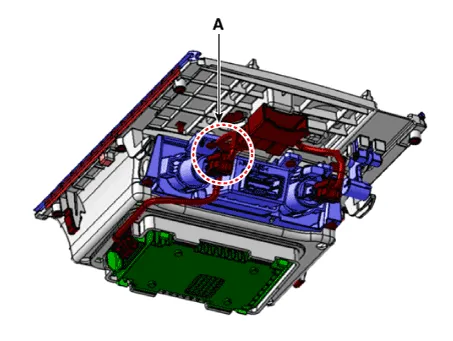
| 4. | Disconnect the wireless charging lamp connector (A).
|
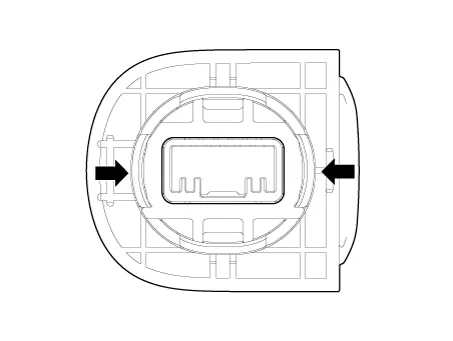
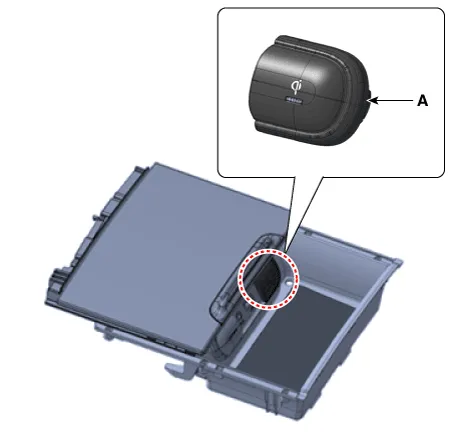
| 5. | Remove the wireless charging lamp (A) by pressing the hooks on each side at the same time.
|
| Installation |
| 1. | Install the wireless charging lamp. |
| 2. | Connect the wireless charging lamp connector. |
| 3. | Connect the connectors to the floor console tray. |
| 4. | Install the floor console tray. |
| 5. | Connect the negative (-) battery terminal. |
Other information:
Hyundai Ioniq (AE) 2017-2022 Service & Repair Manual: Auto Defoging Actuator. Repair procedures
Inspection1.Turn the ignition switch OFF. 2.Disconnect the auto defogging connector. 3.Verify that the auto defogging actuator operates to the open position when connecting 12V to terminal 3 and grounding terminal 4. Verify that the auto defogging actuator operates to the close position when connected in reverse.
Hyundai Ioniq (AE) 2017-2022 Service & Repair Manual: Special service tools
Special Service Tools Tool Name / Number Illustration Description LKA Compensator(09964-C1100)Used for compensating front view camera unitBCW Sensor Correction Tool Set(09958-3T500)Used to correct the blind-spot radar unit.
Categories
- Manuals Home
- Hyundai Ioniq Owners Manual
- Hyundai Ioniq Service Manual
- If the 12 Volt Battery is Discharged (Hybrid Vehicle)
- Front Disc Brake. Repair procedures
- Body (Interior and Exterior)
- New on site
- Most important about car

Copyright В© 2026 www.hioniqae.com - 0.0174