
Hyundai Ioniq (AE): Air Conditioning System / Condenser. Repair procedures
Hyundai Ioniq (AE) 2017-2022 Service & Repair Manual / Heating, Ventilation and Air Conditioning / Air Conditioning System / Condenser. Repair procedures
| Inspection |
| 1. | Check the condenser fins for clogging and damage. If clogged, clean them with water, and blow them with compressed air. If bent, gently bend them using a screwdriver or pliers. |
| 2. | Check the condenser connections for leakage, and repair or replace it, if required. |
| Replacement |
| 1. | Recover the refrigerant with a recovery / recycling / charging station.
|

| 2. | Disconnect the negative (-) battery terminal. |
| 3. | Remove the front bumper. (Refer to Body - "Front Bumper Cover") |
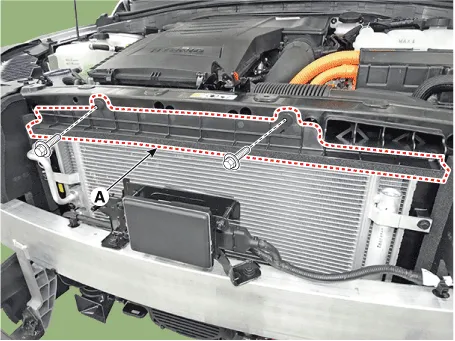
| 4. | Loosen the mounting bolts, remove the radiator upper cover (A).
|
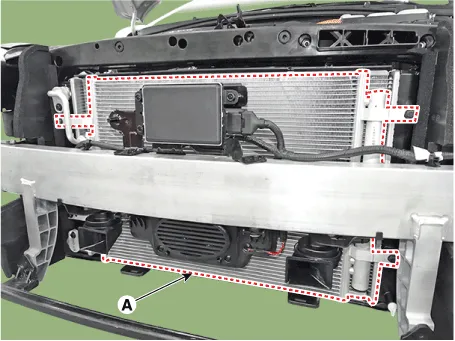
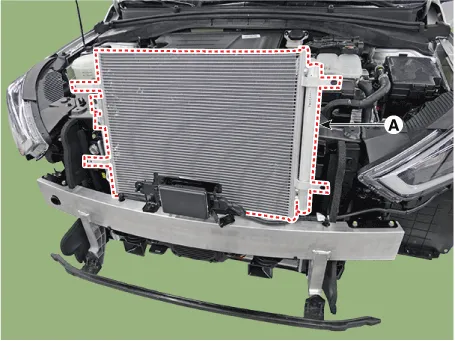
| 5. | After loosening the mounting bolts, remove the condenser (A).
|
| 6. | To install, reverse the removal procedure.
|

Components Location1. Condenser
Replacement1.Remove the condenser.2.Remove the cap (A) on the bottom of the condenser with a L wrench. Tightening torque : 9.81 - 14.71 N.
Categories
- Manuals Home
- Hyundai Ioniq Owners Manual
- Hyundai Ioniq Service Manual
- Hybrid Vehicle Engine Compartment
- Hybrid Control System
- Troubleshooting
- New on site
- Most important about car

Copyright © 2026 www.hioniqae.com - 0.0155