Hyundai Ioniq: Rear Bumper / Rear Bumper Cover. Repair procedures
Hyundai Ioniq (AE) 2017-2025 Service Manual / Body (Interior and Exterior) / Rear Bumper / Rear Bumper Cover. Repair procedures
| Replacement |
|
|
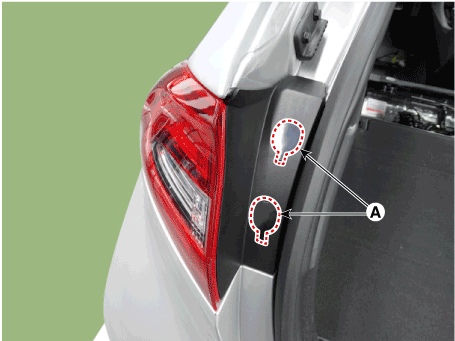
| 1. | Remove the rear combination cap (A).
|
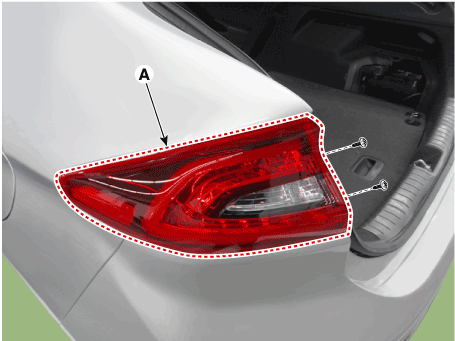
| 2. | Loosen the mounting screws, remove the rear combination lamp (A).
|
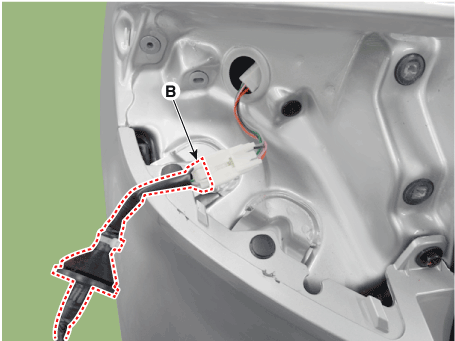
| 3. | Disconnect the rear combination lamp connector (A).
|
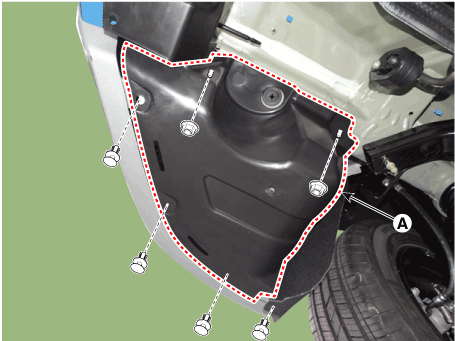
| 4. | Loosen the mounting clips and nuts, remove the rear bumper retainer cover (A).
|
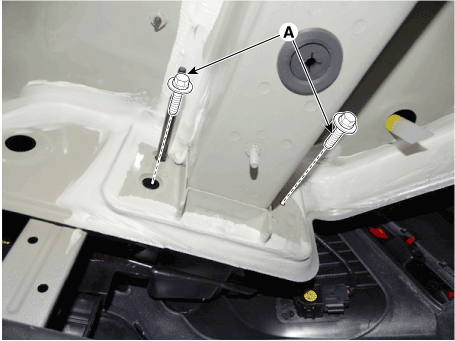
| 5. | Loosen the mounting bolts.
|
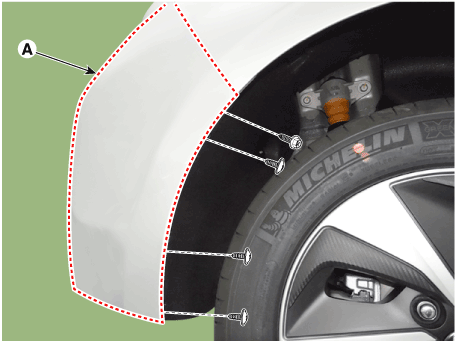
| 6. | After loosening the pin-type retainers and screws on the side of rear bumper (A), detach the side part of rear bumper.
|
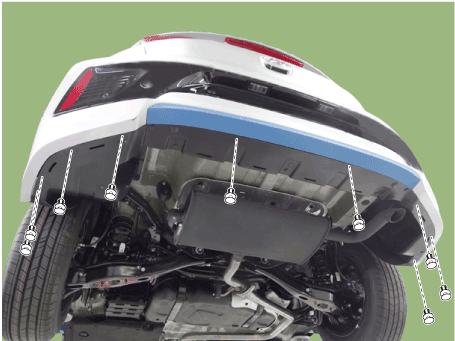
| 7. | Loosen the rear bumper lower mounting pin-type retainers and nuts.
|
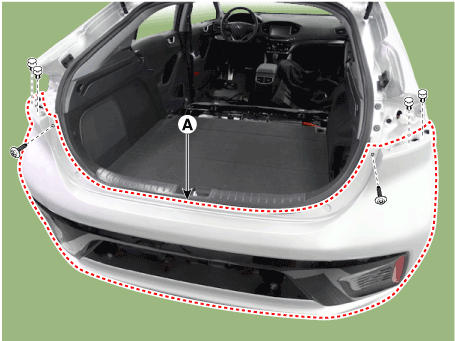
| 8. | After loosening the mounting screws and clips, remove the rear bumper cover (A).
|
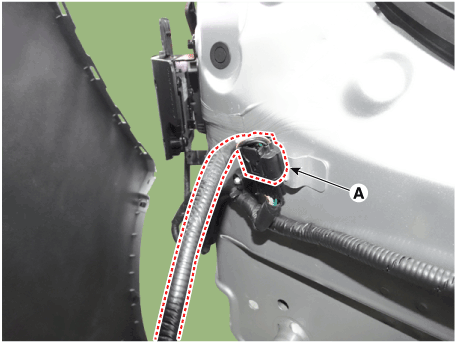
| 9. | Disconnect the rear bumper connector (A).
|
| 10. | To install, reverse the removal procedure.
|
Other information:
Hyundai Ioniq (AE) 2017-2025 Owner's Manual: Hood
Opening the hood 1. Park the vehicle and set the parking brake. 2. Pull the release lever to unlatch the hood. The hood should pop open slightly. 3. Go to the front of the vehicle, raise the hood slightly, push up the secondary latch (1) inside of the hood center and lift the hood (2)...
Hyundai Ioniq (AE) 2017-2025 Service Manual: Hybrid Starter Generator(HSG). Components and components location
C..
Categories
- Manuals Home
- 1st Generation Ioniq Owners Manual
- 1st Generation Ioniq Service Manual
- Smart Cruise Control System
- Tilt Steering / Telescope Steering
- Towing
- New on site
- Most important about car
Driver Position Memory System
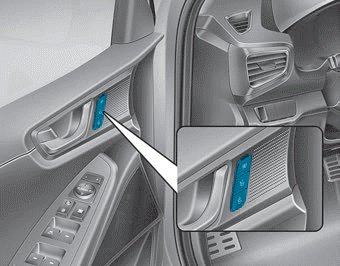
The Driver Position Memory System is provided to store and recall the following memory settings with a simple button operation.
- Driver's seat position
- Side view mirror position
- Instrument panel illumination intensity
Copyright © 2025 www.hioniqae.com


