Hyundai Ioniq (AE): Floor Carpet / Repair procedures
Hyundai Ioniq (AE) 2017-2022 Service & Repair Manual / Body (Interior and Exterior) / Floor Carpet / Repair procedures
| Replacement |
|

|

| 1. | Remove the floor console assembly. (Refer to Floor Console - "Floor Console Assembly") |
| 2. | Remove the front seat assembly. (Refer to Front Seat - "Front Seat Assembly") |
| 3. | Remove the rear seat cushion assembly. (Refer to Rear Seat - "Rear Seat Assembly") |
| 4. | Remove the cowl side trim. (Refer to Interior Trim - "Cowl Side Trim") |
| 5. | Remove the center pillar lower trim. (Refer to Interior Trim - "Center Pillar Trim") |
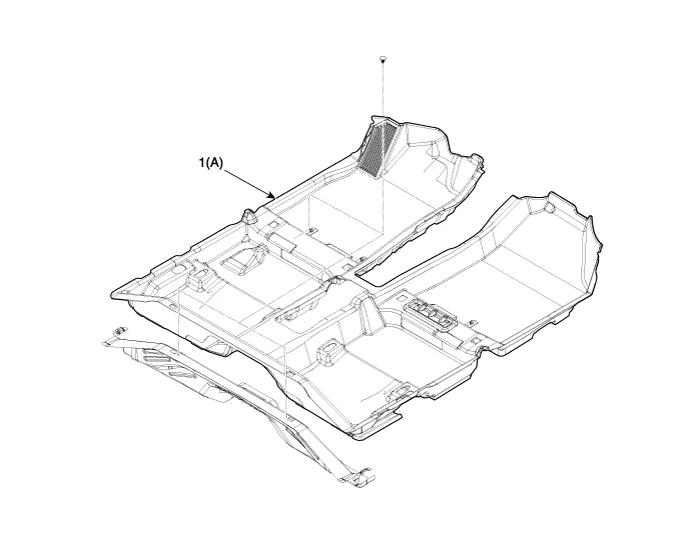
| 6. | Remove the floor carpet assembly (A). |
| 7. | To install, reverse the removal procedure.
|

Other information:
Hyundai Ioniq (AE) 2017-2022 Service & Repair Manual: A/C Pressure Transducer. Repair procedures
Inspection • Before measuring the pressure of the refriferant line, check whether the refrigerant amount is charged in accordance with the specified charging amount.(Refer to Heating, Ventilation, Air Conditioning - "Specifications")1.
Hyundai Ioniq (AE) 2017-2022 Service & Repair Manual: Specifications
S
Categories
- Manuals Home
- Hyundai Ioniq Owners Manual
- Hyundai Ioniq Service Manual
- Jump Starting
- Checking the Coolant Level
- Hybrid Control System
- New on site
- Most important about car

Copyright © 2026 www.hioniqae.com - 0.0119