Hyundai Ioniq (AE): Audio / Speakers. Repair procedures
| Inspection |
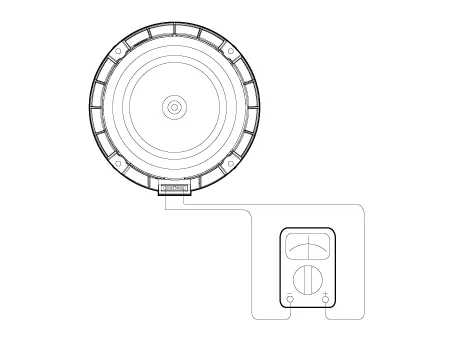
| 1. | Troubleshooting for Speaker
|


| Removal |
| 1. | Disconnect the negative (-) battery terminal. |
| 2. | Remove the front door trim. (Refer to Body - "Front Door Trim") |
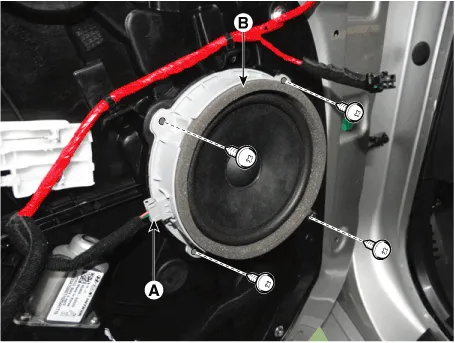
| 3. | Remove the front door speaker (B) after disconnecting the connector (A) and loosening the screws.
|
| 1. | Disconnect the negative (-) battery terminal. |
| 2. | Remove the front door trim. (Refer to Body - "Front Door Trim") |
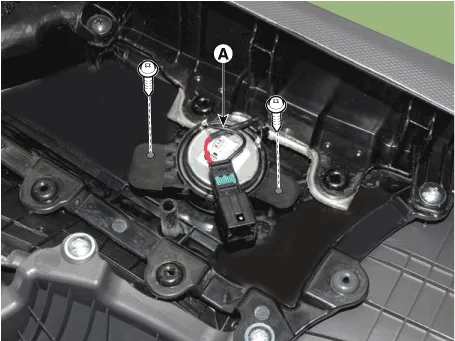
| 3. | Remove the tweeter speaker (A) after loosening the screws.
|
| 1. | Disconnect the negative (-) battery terminal. |
| 2. | Remove the rear door trim. (Refer to Body - "Rear Door Trim") |
| 3. | Remove the rear door speaker (B) after disconnecting the connector (A) and loosening the screws.
|

| Installation |
| 1. | Install the front door speaker. |
| 2. | Install the front door trim. |
| 3. | Connect the negative (-) battery terminal. |
| 1. | Install the front door tweeter speaker. |
| 2. | Install the front door trim. |
| 3. | Connect the negative (-) battery terminal. |
| 1. | Install the rear door speaker. |
| 2. | Install the front door trim. |
| 3. | Connect the negative (-) battery terminal. |
|
Removal1.Disconnect the negative (-) battery terminal.2.Remove the cluster fascia panal.(Refer to Body - "Center Fascia Panal")3.Remove the crash pad garnish RH.
InspectionAntenna Cable1.Check for continuity between the center poles of antenna cable.2.Check for continuity between the outer poles of antenna cable.
Other information:
Hyundai Ioniq (AE) 2017-2022 Service & Repair Manual: Blower Unit. Repair procedures
Replacement When prying with a flat-tip screwdriver or use a prying trim tool, wrap it with protective tape, and apply protective tape around the related parts, to prevent damage.1.Disconnect the negative (-) battery terminal.2.Recover the refrigerant with a recovery / recycling / charging station.
Hyundai Ioniq (AE) 2017-2022 Service & Repair Manual: Special service tools
Special Service Tools Tool Name / Number Illustration Description LKA Compensator(09964-C1100)Used for compensating front view camera unitBCW Sensor Correction Tool Set(09958-3T500)Used to correct the blind-spot radar unit.
Categories
- Manuals Home
- Hyundai Ioniq Owners Manual
- Hyundai Ioniq Service Manual
- Jump Starting
- Body (Interior and Exterior)
- Theft-alarm System
- New on site
- Most important about car
