Hyundai Ioniq (AE): Audio / Audio Unit. Repair procedures
| Removal |
| 1. | Disconnect the negative (-) battery terminal. |
| 2. | Remove the cluster fascia panal. (Refer to Body - "Center Fascia Panal") |
| 3. | Remove the crash pad garnish RH. (Refer to Body - "Crash Pad Garnish") |
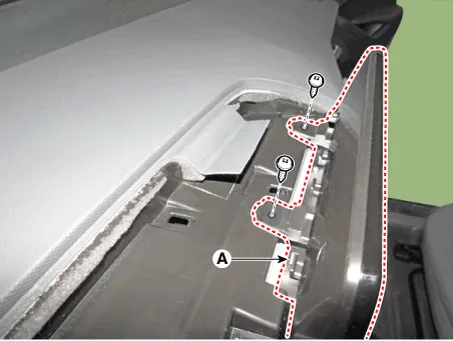
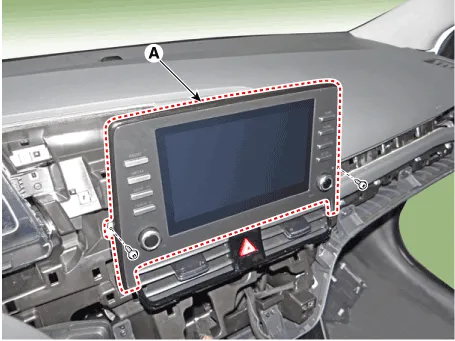
| 4. | Remove the audio assembly (A) after loosening mounting screws.
|
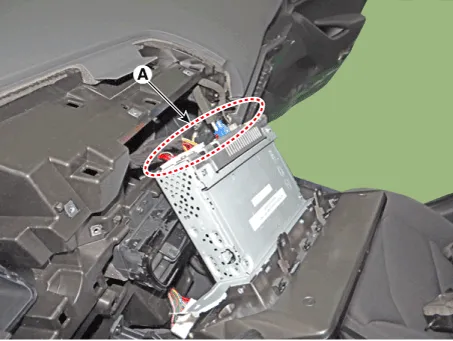
| 5. | Remove the audio head unit after disconnecting the connectors and cable (A).
|
| Installation |
| 1. | Connect the audio unit connectors and cable. |
| 2. | Install the audio head unit. |
| 3. | Install the crash pad garnish RH. |
| 4. | Install the cluster fascia panal. |
| 5. | Connect the negative (-) battery terminal.
|

Components[RADIO/CD/MP3]Connector Pin Information No Connector A Connector B 1Rear speaker (LH +)-2Rear speaker (LH -)Mic (+)3--4--5-Antenna power6Camera powerIllumination (+)7Camera vidio inputMM CAN (+)8--9--10-Battery (+)11DTCBattery (+)12Steering key signalGround13Front speaker (LH +)Ground14Front speaker (LH -)-15Front speaker (RH -)Mic (-)16Front speaker (RH +)-17--18- -19-Illumination (-)20Camera power groundMM CAN (-)21Camera video ground-22-ACC23--24--25--26Steering key ground-27Rear speaker (RH -)-28Rear speaker (RH +)-29--30--31-IGN 332Camera(NC.
Inspection1.Troubleshooting for Speaker(1)Basic inspection of speakerInspect the sound from speaker after verifying that the speaker mounting screws is removed and the wiring connector is connected precisely to remove vibration transmitted from body trims and surrounding parts.
Other information:
Hyundai Ioniq (AE) 2017-2022 Service & Repair Manual: PTC Heater. Repair procedures
InspectionOperating Logic Test (Manual only)Inspect the PTC operation by confirmation logic as follows.1.Entering(1)Set the Floor mode and maximum heating position.(2)Turn off the blower switch.(3)Press the intake (recirculation) button 5 times or more.
Hyundai Ioniq (AE) 2017-2022 Service & Repair Manual: Components and components location
C
Categories
- Manuals Home
- Hyundai Ioniq Owners Manual
- Hyundai Ioniq Service Manual
- Hybrid Vehicle Engine Compartment
- Checking the Coolant Level
- Engine Control/Fuel System
- New on site
- Most important about car
