
Hyundai Ioniq (AE): Intake and Exhaust System / Air Cleaner. Repair procedures
| Removal and Installation |
| 1. | Disconnect the battery negative terminal. |
| 2. | Remove the air duct and air cleaner assembly.
|
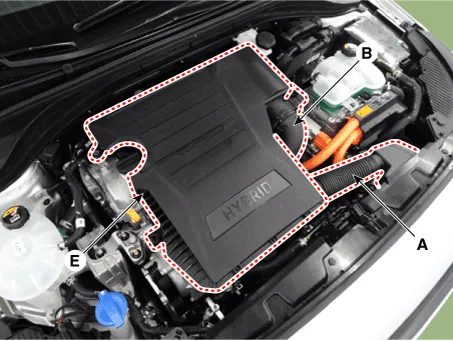
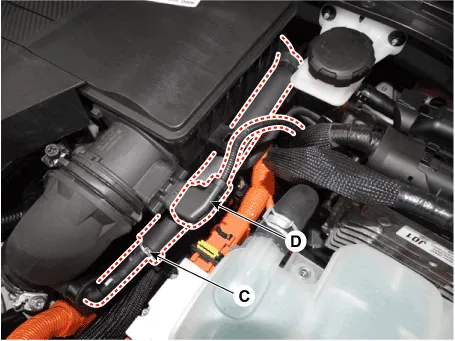
| 3. | Install in the reverse order of removal. |
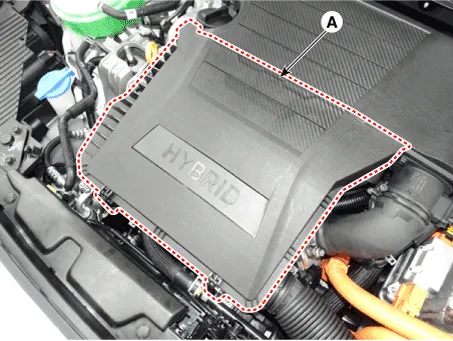
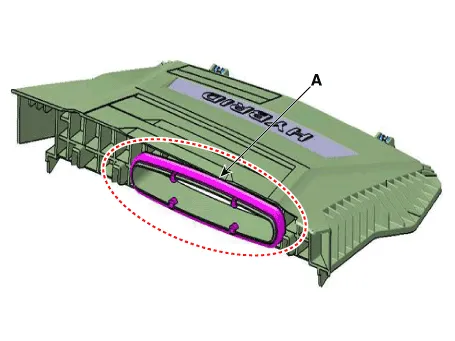
| 1. | Remove the clamp and open the air cleaner cover (A).
|
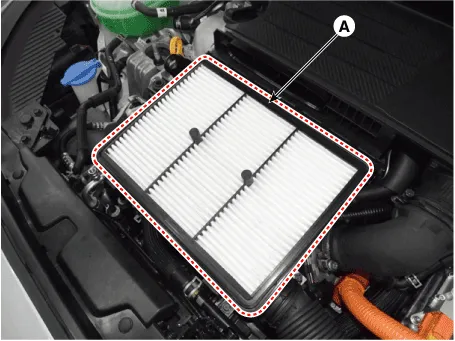
| 2. | Replace the air cleaner element (A) with a new one.
|

| 3. | Close the air cleaner cover and engage the clamp.
|
Comoinents1. Air cleaner body2. Air cleaner element3. Air cleaner cover4. Air flow sensor5. Air intake hose6. Air duct hose7. Air duct
Components1. Intake manifold assembly2. Intake manifold gasket3. PCV hose4. Intake manifold stay
Other information:
Hyundai Ioniq (AE) 2017-2022 Service & Repair Manual: Mode Control Actuator. Repair procedures
Inspection1.Turn the ignition switch OFF.2.Disconnect the mode control actuator connector.3.Verify that the mode control actuator operates to the defrost mode when connecting 12V to terminal 3 and grounding terminal 4.Verify that the mode control actuator operates to the vent mode when connected in reverse.
Hyundai Ioniq (AE) 2017-2022 Service & Repair Manual: Front Radar Unit. Repair procedures
Removal1.Remove the front bumper.(Refer to Body - "Front Bumper")2.Disconnect the smart cruise control unit connector (A).3.Remove the smart cruise control nuit assembly (B) from thevehicle after loosening mounting bolts.Installation1.Install in the reverse order of removal.
Categories
- Manuals Home
- Hyundai Ioniq Owners Manual
- Hyundai Ioniq Service Manual
- Repair procedures
- Hybrid Control System
- DCT(Dual Clutch Transmission) System
- New on site
- Most important about car
