Hyundai Ioniq (AE): Lighting System / DRL(Daytime Running Lights). Repair procedures
| Removal |
| 1. | Disconnect the negative (-) battery terminal. |
| 2. | Remove the front bumper. (Refer to Body - "Front Bumper Cover") |
| 3. | Disconnect the DRL connector. |
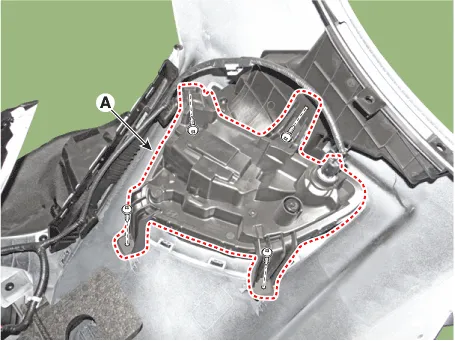
| 4. | Remove the bulb socket (B) and daytime running light bulb (A) from the lamp assembly.
|
| Installation |
| 1. | Install the DRL bulb socket. |
| 2. | Connect the DRL assembly connector. |
| 3. | Install the front bumper. |
| 4. | Connect the negative (-) battery terminal. |
Inspection1.Disconnect the negative (-) battery terminal.2.Remove the crash pad lower panel.(Refer to Body - "Crash Pad Lower Panel")3.Disconnect the rheostat switch connector (A).
Removal1.Disconnect the negative (-) battery terminal.2.Remove the license lamp (A) after disengaging the license lamp mounting clip (B).3.Replace the bulb (A) after removing a lens.
Other information:
Hyundai Ioniq (AE) 2017-2022 Service & Repair Manual: emperature Control Actuator. Repair procedures
Inspection1.Turn the ignition switch OFF.2.Disconnect the temperature control actuator connector.3.Verify that the temperature control actuator operates to the cool position when connecting 12V to terminal 3 and grounding terminal 7.Verify that the temperature control actuator operates to the warm position when connected in reverse.
Hyundai Ioniq (AE) 2017-2022 Service & Repair Manual: Front Radar Unit. Description and operation
DescriptionThe smart cruise control unit is installed on the front right side of the chassis. A radar sensor is embedded in the front section of the unit. This sensor detects vehicles and objects in front of the vehicle. The radar sensor can detect up to 64 objects ahead of a vehicle.
Categories
- Manuals Home
- Hyundai Ioniq Owners Manual
- Hyundai Ioniq Service Manual
- Jump starting procedure
- Engine Mechanical System
- Checking the Coolant Level
- New on site
- Most important about car
