
Hyundai Ioniq (AE): Blower / Blower Unit. Components and components location
| Component Location |
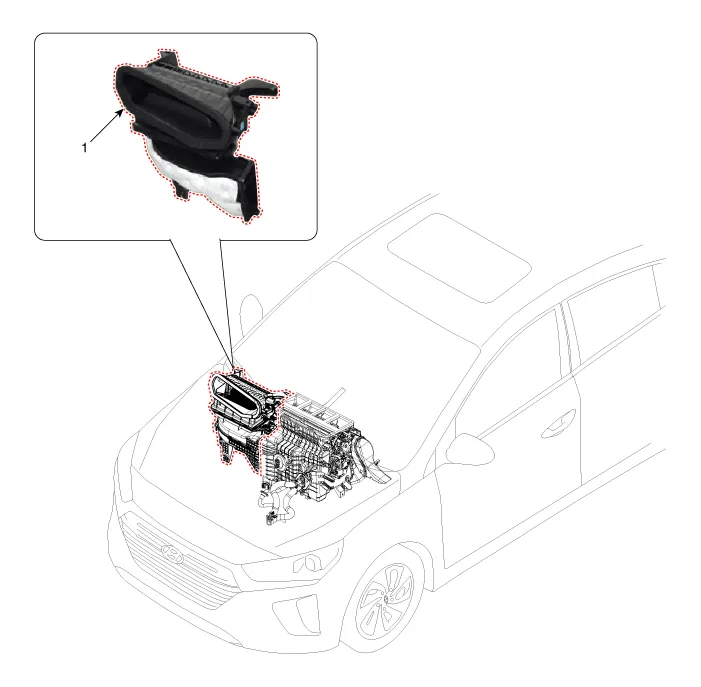
| 1. Blower unit assembly |
| Components |
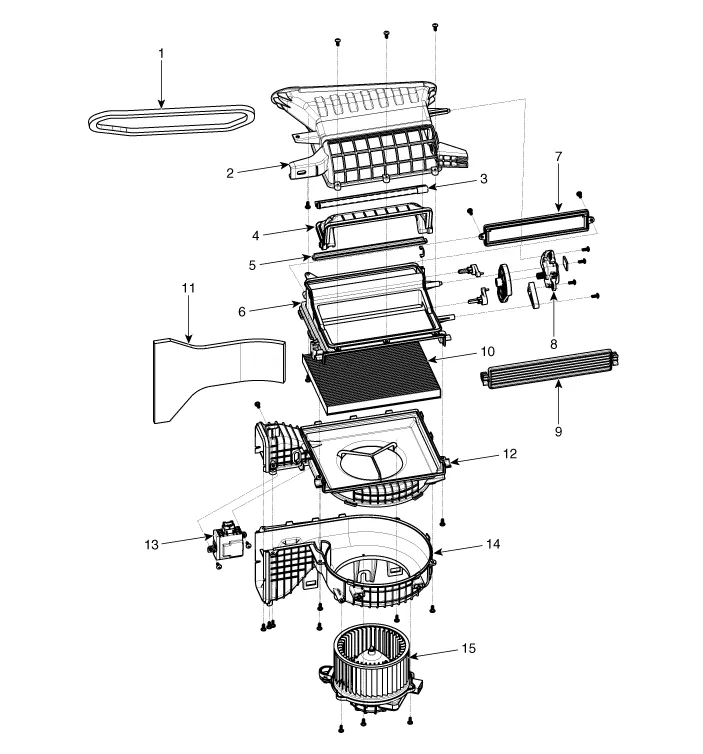
| 1. Duct Seal 2. Intake duct case 3. Air intake door assembly 4. Intake door 5. Seal 6. Intake duct case (A) 7. Air filter cover (A) 8. Intake actuator | 9. Air filter cover 10. Air filter 11. Blower unit pad 12. Blower upper case 13. Cluster ionizer 14. Blower lower case 15. Blower motor |
Replacement When prying with a flat-tip screwdriver or use a prying trim tool, wrap it with protective tape, and apply protective tape around the related parts, to prevent damage.
Other information:
Hyundai Ioniq (AE) 2017-2022 Service & Repair Manual: Repair procedures
Self Diagnosis1.Self-diagnosis process. • When operating the self-diagnostics, the below fault (self-diagnostics code) will blink at 0.5 seconds interval on the temperature display settings (driver's side only) and the remaining symbols are OFF .
Hyundai Ioniq (AE) 2017-2022 Service & Repair Manual: Repair procedures
Diagnosis with GDS1.REAR CORENER RADAR system defects can be quickly diagnosed with the GDS. GDS operates actuator quickly to monitor, input/output value and self diagnosis.2.Connect the cable of GDS to the data link connector in driver side crash pad lower panel, turn the power on GDS.
Categories
- Manuals Home
- Hyundai Ioniq Owners Manual
- Hyundai Ioniq Service Manual
- Maintenance
- General Information
- Repair procedures
- New on site
- Most important about car
