
Hyundai Ioniq (AE): Intake and Exhaust System / Muffler. Repair procedures
Hyundai Ioniq (AE) 2017-2022 Service & Repair Manual / Engine Mechanical System / Intake and Exhaust System / Muffler. Repair procedures
| Removal and Installation |
Front Muffler
| 1. | Disconnect the battery negative terminal. |
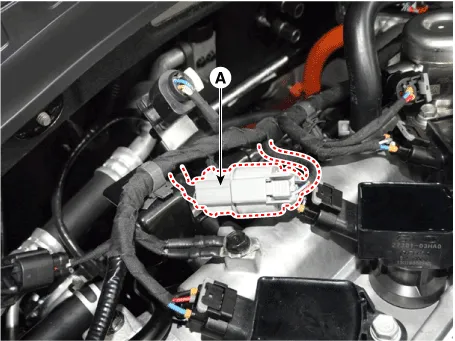
| 2. | Disconnect the oxygen sensor connector (A).
|
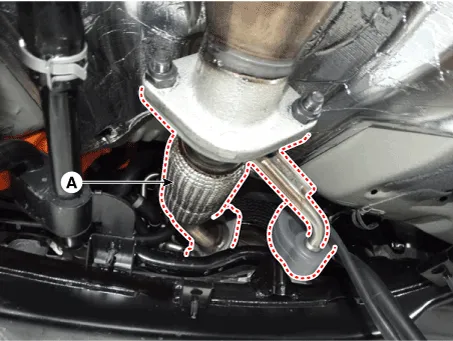
| 3. | Remove the heat protector (A).
|

| 4. | Remove the front muffler (A).
|
| 5. | Install in the reverse order of removal.
|

GPF
| 1. | Disconnect the battery negative terminal. |
| 2. | Remove the exhaust gas temperature sensor (EGTS) #1,#2. (Refer to Engine Control / Fuel System - "Exhaust Gas Temperature Sensor (EGTS)") |
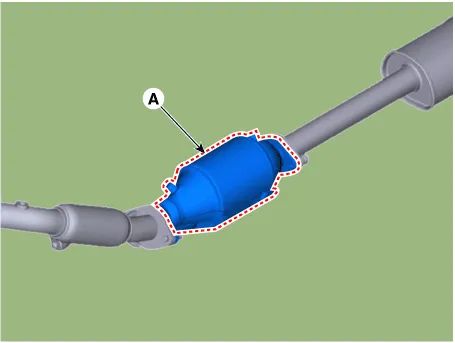
| 3. | Remove the GPF (A).
|
| 4. | Install in the reverse order of removal.
|
Center Muffler
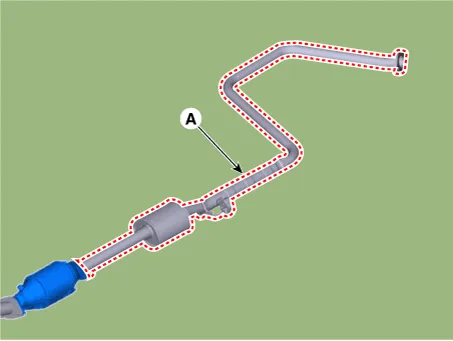
| 1. | Remove the center muffler (A).
|
| 2. | Install in the reverse order of removal.
|
Rear Muffler
| 1. | Remove the rear muffler (A).
|
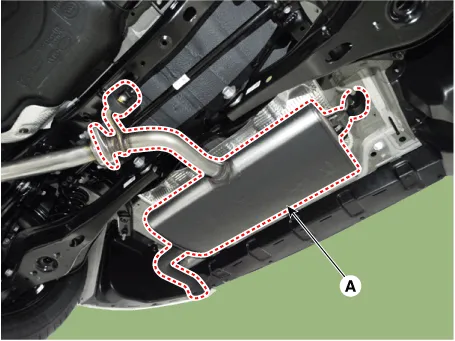
| 2. | Install in the reverse order of removal.
|
Components1. Front muffler2. GPF3. Center muffler4. Rear muffler5. Gasket6. Hanger
Other information:
Hyundai Ioniq (AE) 2017-2022 Service & Repair Manual: Evaporator Core. Repair procedures
Replacement1.Disconnect the negative (-) battery terminal. 2.Remove the heater and blower assembly.(Refer to Heater - "Heater Unit") 3.Remove the evaporator core cover (A) after loosening the mounting screws.4.Pull out the evaporator temperature sensor (A) from the evaporator core.
Hyundai Ioniq (AE) 2017-2022 Service & Repair Manual: Front View Camera Unit. Repair procedures
Removal1.Disconnect the negative (-) battery terminal.2.Remove the front view camera cover (A).3.Disconnect the front view camera connector (A).4.Remove the front view camera after disengaging the mounting bracket (A).Installation1.Align front view camera with windshield bracket using forward edge point (A).
Categories
- Manuals Home
- Hyundai Ioniq Owners Manual
- Hyundai Ioniq Service Manual
- Hybrid Vehicle Engine Compartment
- Troubleshooting
- Engine Mechanical System
- New on site
- Most important about car

Copyright © 2026 www.hioniqae.com - 0.0245