Hyundai Ioniq (AE): ESP(Electronic Stability Program) System / Rear Wheel Speed Sensor. Repair procedures
Hyundai Ioniq (AE) 2017-2022 Service & Repair Manual / Brake System / ESP(Electronic Stability Program) System / Rear Wheel Speed Sensor. Repair procedures
| Removal |
| 1. | Loosen the wheel nuts slightly. Raise the vehicle, and make sure it is securely supported. |
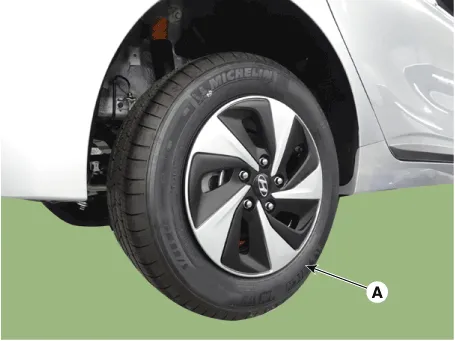
| 2. | Remove the front wheel and tire (A) from the rear hub.
|

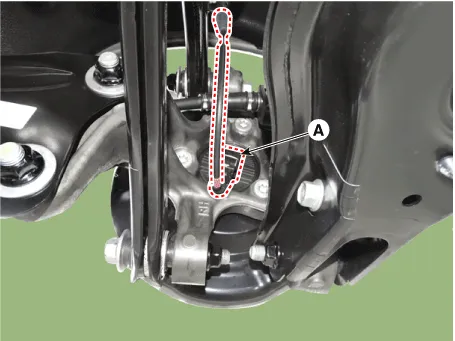
| 3. | Disconnect the rear wheel speed sensor connector (A).
|
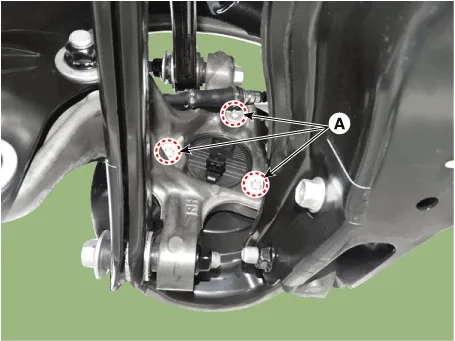
| 4. | Loosen the mounting bolts (A) and then remove the hub bearing.
|
| 5. | Installation in the reverse of removal. |
| Inspection |
| 1. | Measure the output voltage between the terminal of the wheel speed sensor and the body ground.
|
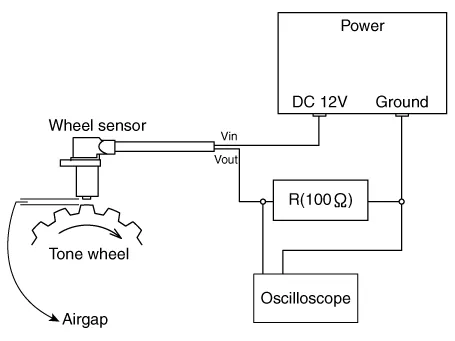
| 2. | Compare the change of the output voltage of the wheel speed sensor to the normal change of the output voltage as shown below.
|
Components1. Rear wheel speed sensor cable2. Rear wheel speed sensor connector
Description1.The ESP OFF switch is for the user to turn off the ESP system.2.The ESP OFF lamp is on when ESP OFF switch is engaged.
Categories
- Manuals Home
- Hyundai Ioniq Owners Manual
- Hyundai Ioniq Service Manual
- Jump Starting
- Engine Clutch System
- Jump starting procedure
- New on site
- Most important about car

Copyright © 2026 www.hioniqae.com - 0.0193