Hyundai Ioniq (AE): Intake and Exhaust System / Muffler. Repair procedures
Hyundai Ioniq (AE) 2017-2022 Service & Repair Manual / Engine Mechanical System / Intake and Exhaust System / Muffler. Repair procedures
| Removal and Installation |
Front Muffler
| 1. | Disconnect the battery negative terminal. |
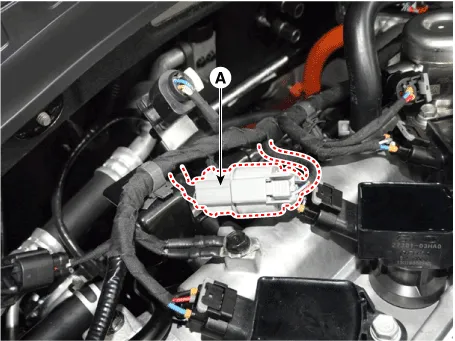
| 2. | Disconnect the oxygen sensor connector (A).
|
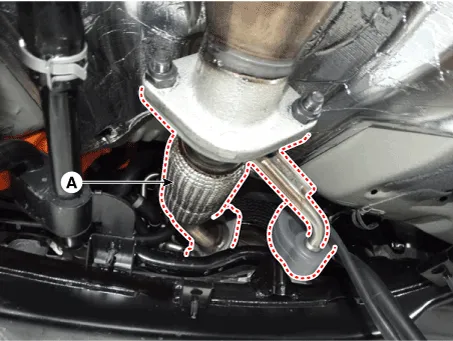
| 3. | Remove the heat protector (A).
|

| 4. | Remove the front muffler (A).
|
| 5. | Install in the reverse order of removal.
|

GPF
| 1. | Disconnect the battery negative terminal. |
| 2. | Remove the exhaust gas temperature sensor (EGTS) #1,#2. (Refer to Engine Control / Fuel System - "Exhaust Gas Temperature Sensor (EGTS)") |
| 3. | Remove the GPF (A).
|
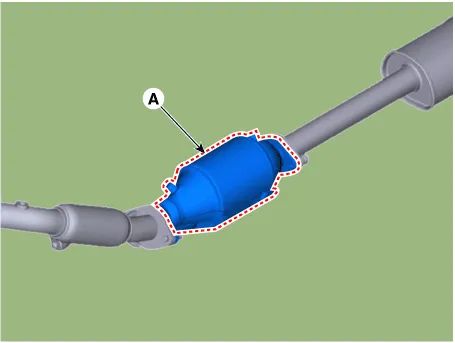
| 4. | Install in the reverse order of removal.
|
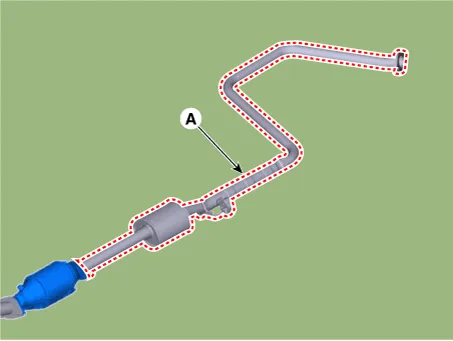
Center Muffler
| 1. | Remove the center muffler (A).
|
| 2. | Install in the reverse order of removal.
|
Rear Muffler
| 1. | Remove the rear muffler (A).
|

| 2. | Install in the reverse order of removal.
|
Components1. Front muffler2. GPF3. Center muffler4. Rear muffler5. Gasket6. Hanger
Other information:
Hyundai Ioniq (AE) 2017-2022 Service & Repair Manual: Blower Unit. Components and components location
Component Location1. Blower unit assembly Components1. Duct Seal2. Intake duct case3. Air intake door assembly4. Intake door5. Seal6. Intake duct case (A)7. Air filter cover (A)8. Intake actuator9. Air filter cover10. Air filter 11. Blower unit pad12.
Hyundai Ioniq (AE) 2017-2022 Service & Repair Manual: Troubleshooting
Trouble Symptom ChartsTrouble Symptom 1Trouble Symptom 2 Trouble symptom Probable cause Remedy The set vehicle speed varies greatly upward or downward"Surging" (repeated alternating acceleration and deceleration) occurs after settingMalfunction of the vehicle speed se
Categories
- Manuals Home
- Hyundai Ioniq Owners Manual
- Hyundai Ioniq Service Manual
- General Information
- Body (Interior and Exterior)
- DCT(Dual Clutch Transmission) System
- New on site
- Most important about car

Copyright © 2026 www.hioniqae.com - 0.0129