Hyundai Ioniq (AE): Rear Door / Repair procedures
Hyundai Ioniq (AE) 2017-2022 Service & Repair Manual / Body (Interior and Exterior) / Rear Door / Repair procedures
| Adjustment |
Glass Adjustment
|

| 1. | Remove the rear door trim. (Refer to Rear Door - "Rear Door Trim") |
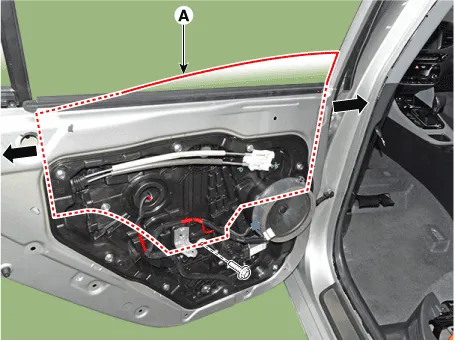
| 2. | Separate the mounting plug hole (A) from the rear door module.
|

| 3. | After loosening the glass mounting bolts, adjust the spacing of the glass (A) by moving the glass from side to side and then tighten the bolts.
|
| 4. | Check the glass for normal operation. |
Door Striker Adjustment
|
| 1. | After loosening the mounting screw, adjust the striker (A) by moving it forward and backward or from side to side and then tighten the bolts (B).
|

| 2. | Tap on the striker with a plastic hammer to adjust the striker. The striker will not move much, but will give some adjustment. |
| 3. | Hold the outer handle out, and push the door against the body to make sure that the striker fits flush with the body. If the door latches properly, tighten the screws and recheck. |
Door Position Adjustment
|
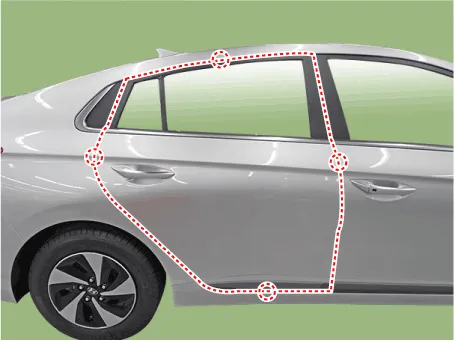
| 1. | Check that the door and body edges are parallel.
|
| 2. | Place the vehicle on a firm, level surface when adjusting the doors. |
| 3. | Adjust the hinges (A) :
|
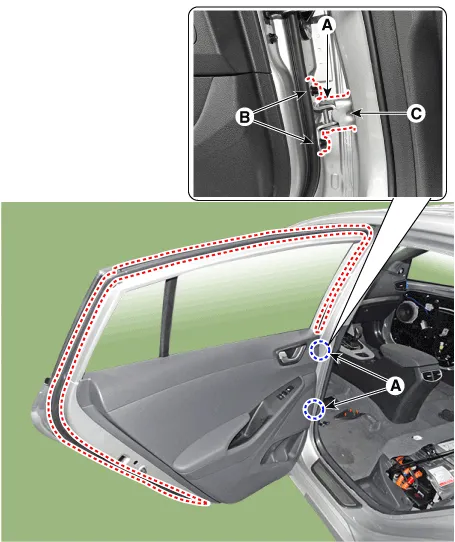
| 4. | Grease the pivot portions of the hinges indicated by the arrows. |
| 5. | Check for water leaks. |
Components 1. Rear door trim2. Rear door pull cap3. Rear door module4. Rear door belt inside weatherstrip5. Rear door panel6. Rear door belt outside weatherstrip7.
Component Location 1. Rear door trim
Other information:
Hyundai Ioniq (AE) 2017-2022 Service & Repair Manual: Front Radar Unit. Repair procedures
Removal1.Remove the front bumper.(Refer to Body - "Front Bumper")2.Disconnect the smart cruise control unit connector (A).3.Remove the smart cruise control nuit assembly (B) from thevehicle after loosening mounting bolts.Installation1.Install in the reverse order of removal.
Hyundai Ioniq (AE) 2017-2022 Service & Repair Manual: Description and operation
DescriptionRear corner radar is a system that uses two magnetic wave radar sensors attached on the rear panel to measure the distance from the following vehicles and provides the sensing and (visual and auditory) alarm of any vehicle coming into the blind spot.
Categories
- Manuals Home
- Hyundai Ioniq Owners Manual
- Hyundai Ioniq Service Manual
- General Information
- Engine Mechanical System
- Engine Control/Fuel System
- New on site
- Most important about car

Copyright © 2026 www.hioniqae.com - 0.0174