Hyundai Ioniq: Front Door / Front Door Side Weatherstrip. Repair procedures
Hyundai Ioniq (AE) 2017-2025 Service Manual / Body (Interior and Exterior) / Front Door / Front Door Side Weatherstrip. Repair procedures
| Replacement |
| [Front door side weatherstrip] |
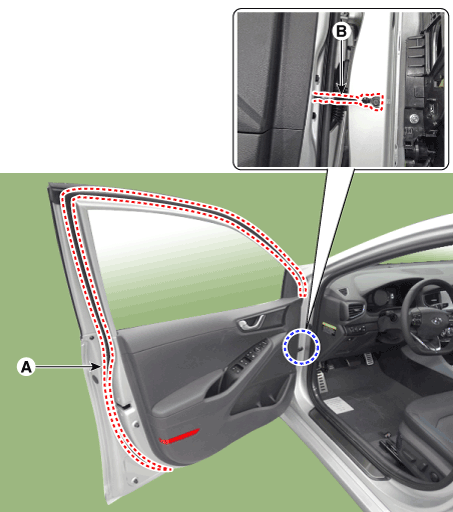
| 1. | Loosen the front door checker (B) mounting bolt.
|
| 2. | Detach the clips, then remove the front door side weatherstrip (A).
|
| 3. | To install, reverse the removal procedure.
|

| [Front door body side weatherstrip] |
| 1. | Detach the clips, then remove the front door body side weatherstrip (A).
|
| 2. | To install, reverse the removal procedure.
|
 Front Door Belt Inside Weatherstrip. Repair procedures
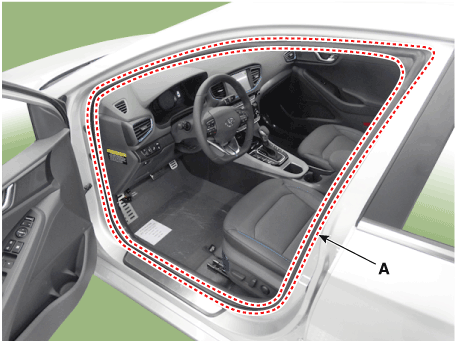
Replacement1.Remove the front door trim.(Refer to Front Door - "Front Door Trim")2.Remove the front door belt inside weatherstrip (A).3.To install, reverse the removal procedure...

Other information:
Hyundai Ioniq (AE) 2017-2025 Service Manual: AVN Remote Controller. Schematic diagrams
C..
Hyundai Ioniq (AE) 2017-2025 Service Manual: Specifications
Specifications Description Specification Limit General TypeIn-line, DOHC Number of cylinders4 Bore72.0 mm (2.8346 in) Stroke97.0 mm (3.8189 in) Total displacement1,580 cc (96...
Categories
- Manuals Home
- 1st Generation Ioniq Owners Manual
- 1st Generation Ioniq Service Manual
- Tilt Steering / Telescope Steering
- Check Hybrid system, Check Hybrid system. Turn engine Off
- Theft-alarm System
- New on site
- Most important about car
Seat Belt Warning Light
Seat belt warning light
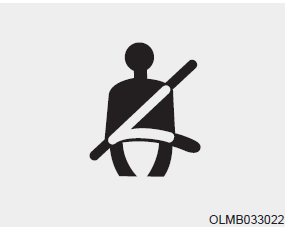
As a reminder to the driver, the seat belt warning light will illuminate and warning chime will sound for approximately 6 seconds each time you place the Engine Start/Stop button to the ON position if the seat belt is unfastened.

Copyright © 2025 www.hioniqae.com