
Hyundai Ioniq (AE): Fuses / Fuse/Relay Panel Description
Instrument panel fuse panel
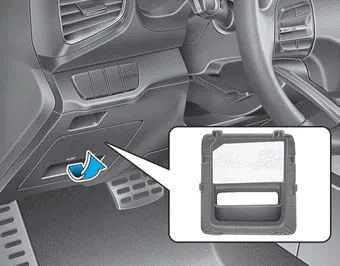
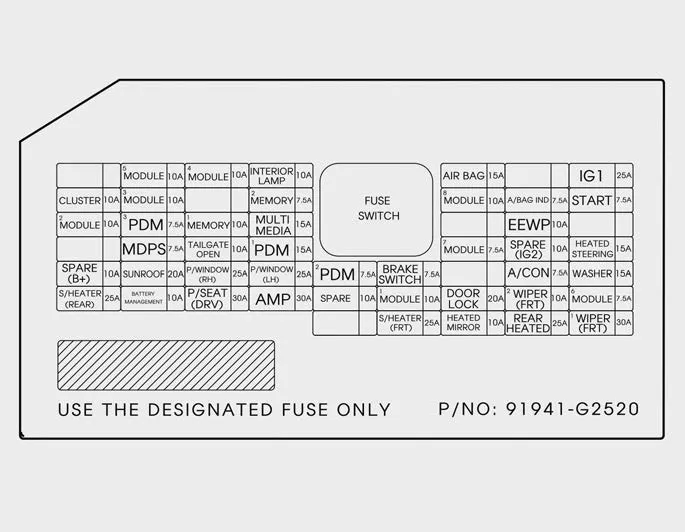
Inside the fuse/relay box cover, you can find the fuse/relay label describing fuse/relay names and ratings.
Information
Not all fuse panel descriptions in this manual may be applicable to your vehicle; the information is accurate at the time of printing. When you inspect the fuse box on your vehicle, refer to the fuse box label.
Engine compartment fuse panel
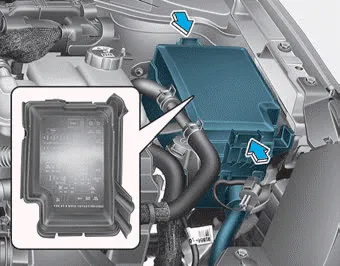
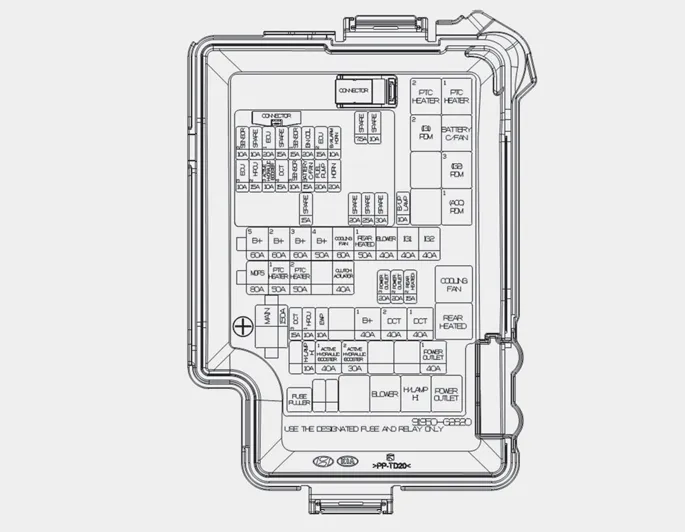
Inside the fuse/relay box cover, you can find the fuse/relay label describing fuse/relay names and ratings.
Information
Not all fuse panel descriptions in this manual may be applicable to your vehicle; the information is accurate at the time of printing. When you inspect the fuse panel in your vehicle, refer to the fuse panel label.
â– Blade type fuse â– Cartridge type fuse 1. Turn the vehicle off. 2. Turn all other switches OFF. 3. Remove the fuse panel cover by pressing the tap and pulling up.
Consult an authorized HYUNDAI dealer to replace most vehicle light bulbs. It is difficult to replace vehicle light bulbs because other parts of the vehicle must be removed before you can get to the bulb.
Other information:
Hyundai Ioniq (AE) 2017-2022 Service & Repair Manual: A/C Pressure Transducer. Description and operation
DescriptionThe A/C Pressure Transducer (APT) converts the pressure value of high pressure line into voltage value after measuring it. By converted voltage value, engine ECU controls the cooling fan by operating it high speed or low speed. Engine ECU stops the operation of the compressor when the temperature of refrigerant line is very high or very
Hyundai Ioniq (AE) 2017-2022 Service & Repair Manual: Special service tools
Special Service Tools Tool Name / Number Illustration Description LKA Compensator(09964-C1100)Used for compensating front view camera unitBCW Sensor Correction Tool Set(09958-3T500)Used to correct the blind-spot radar unit.
Categories
- Manuals Home
- Hyundai Ioniq Owners Manual
- Hyundai Ioniq Service Manual
- Troubleshooting
- Brake System
- Suspension System
- New on site
- Most important about car
